Django AllAuth
Installation and setup
To learn how to install and set up AllAuth see the Installation section.
Allauth url mappings
- {% url 'account_signup' %}
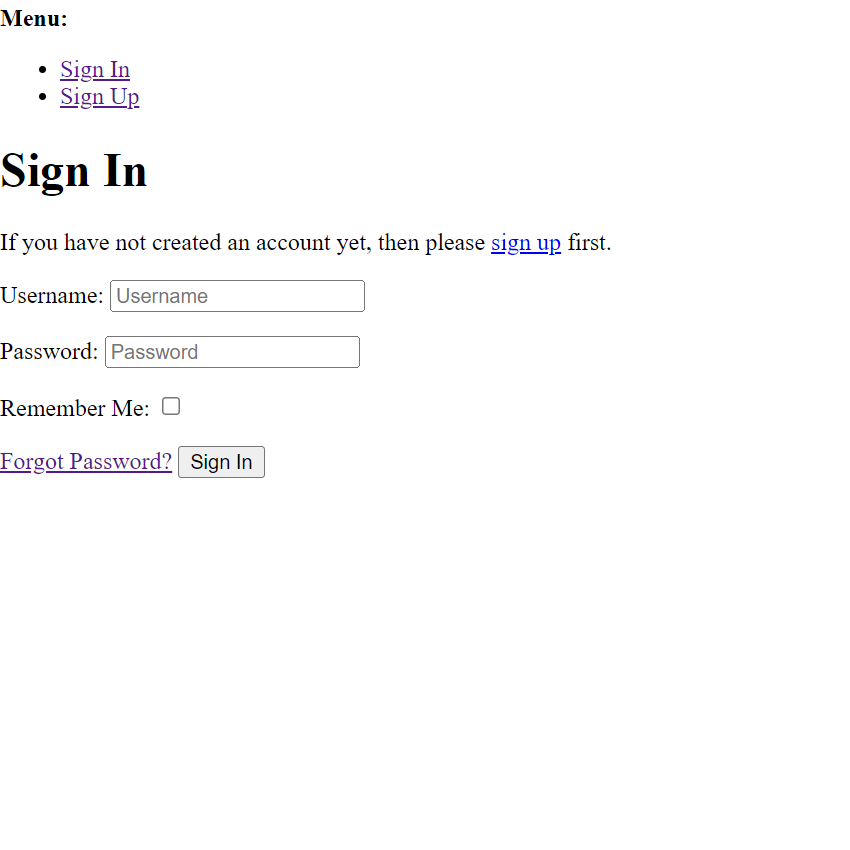
- {% url 'account_login' %}
- {% url 'account_logout' %}
- {% url 'account_reset_password' %}
- {% url 'account_email' %}
Display user email
As the email used by allauth for authentication can be different than the user email stored in the User model, instead of using user.email use this code:
Customize AllAuth templates
Step 1: Copy Allauth Templates
- Navigate to the folder one level above your project root folder.
- Go to virt\Lib\site-packages\allauth\templates and copy the entire account folder.
- Paste the copied account folder to ROOT\templates.
Step 2: Update TEMPLATES in settings.py
- In your project's settings.py file, scroll down to the TEMPLATES section.
- Add the following line to the DIRS list: os.path.join(BASE_DIR, 'templates', 'allauth').
- Your TEMPLATES section should look something like this:
Step 3: Add Bootstrap to the Allauth Base Template
- Navigate to the Bootstrap website and obtain the current CSS and JS links.
- Open ROOT\templates\account\base.html in your code editor.
- Paste the CSS and JS links you obtained from the Bootstrap website inside the head section of the template.
Step 4: Customize Allauth Templates
- Open the Allauth templates located in ROOT\templates\account
- Edit the templates as desired to fit the design and layout of your website.
Our example: